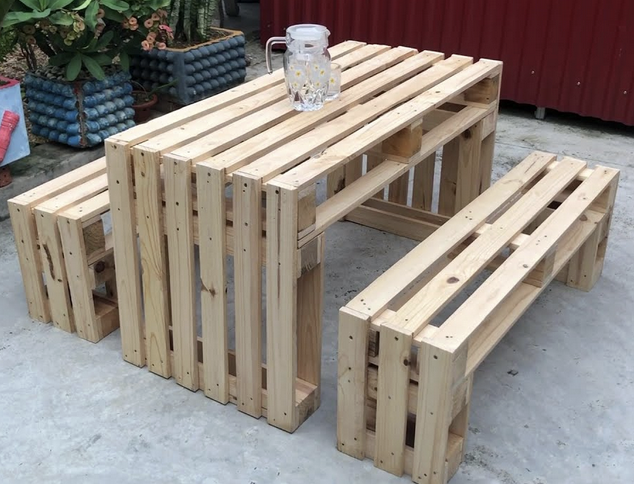
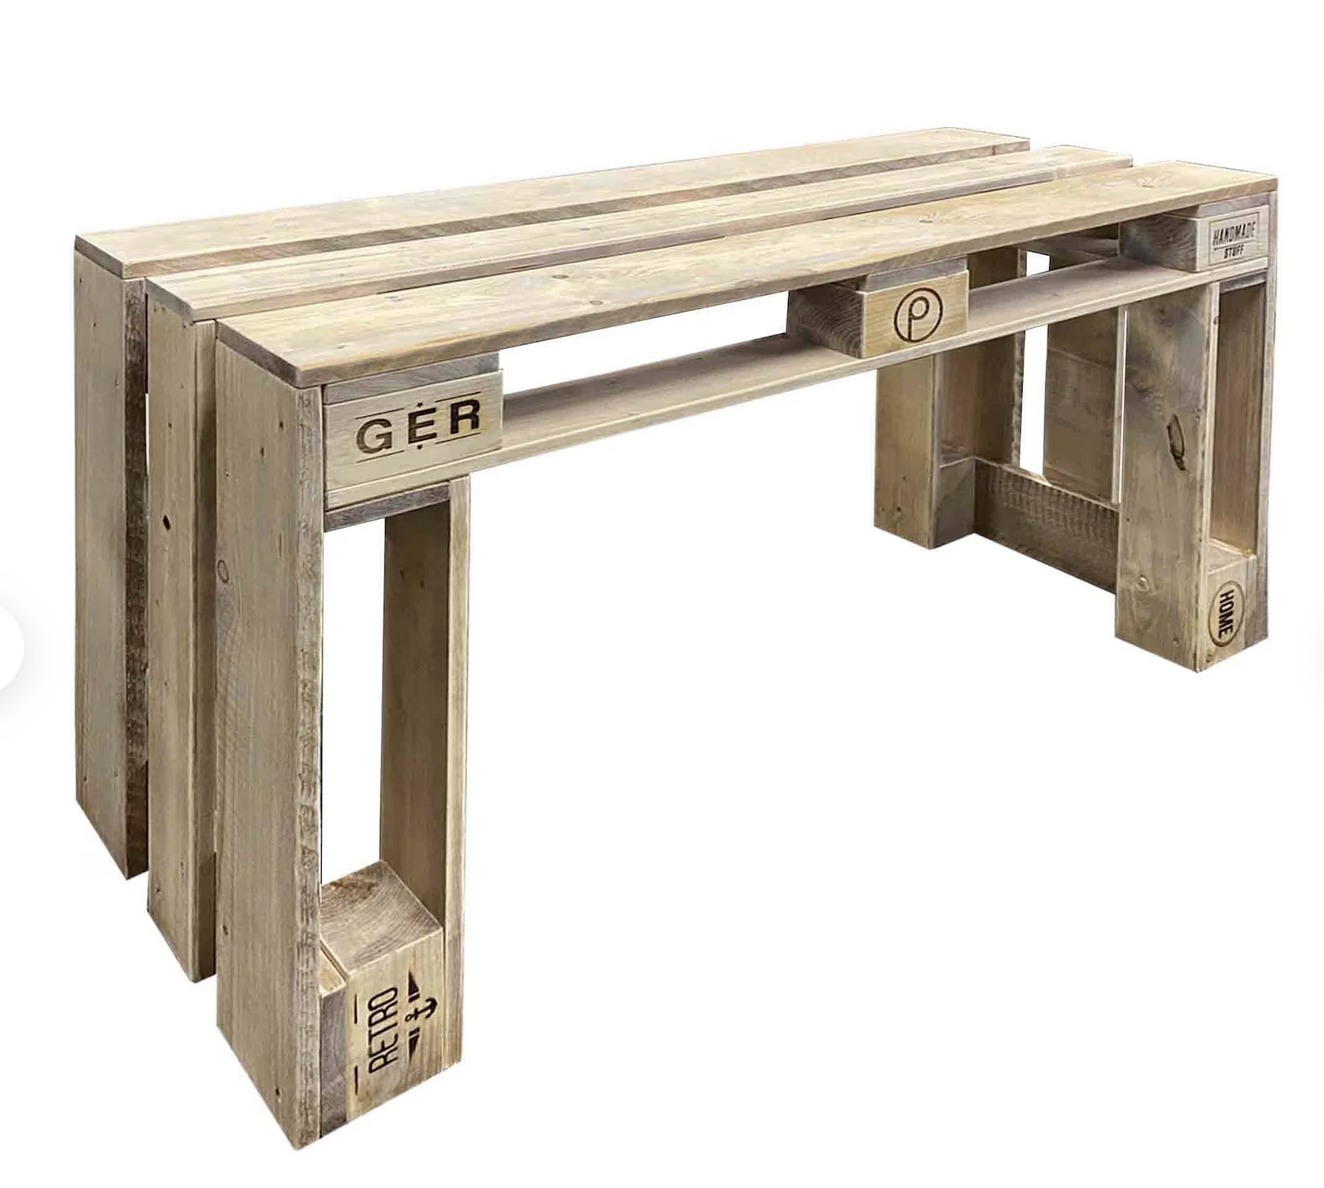
Enjoy the satisfaction of crafting your own cozy pallet bench, perfect for relaxing moments and adding character to your surroundings.
Materials Needed:
1. One wooden pallet
2. Saw (circular saw or hand saw)
3. Measuring tape
4. Pencil or marker
5. Sandpaper (medium and fine grit)
6. Hammer
7. Nails
8. Paint or wood finish (optional)
9. Paintbrush or foam roller (if painting)
Step 1: Cutting the Pallet
1. Position the pallet with its top facing upwards.
2. Identify the substantial supporting piece of wood that runs perpendicular to the pallet’s top deck. This usually rests in the center of the pallet.
3. Using a circular saw or hand saw, carefully cut through the nails or screws attaching the large support piece to the top deck. Remove this support piece.
4. Locate the center of the pallet’s top side and mark it with a pencil or marker.
5. Employ a circular saw or hand saw to cut the pallet along the marked centerline, effectively splitting it into two parts. This creates the main seat for your bench.
Step 2: Cutting the Legs
1. Take one of the halves you just cut and place it on a flat surface with the cut side facing downward. This forms the bench’s seat.
2. Determine and mark your desired leg height on each corner of the seat. A standard bench height is roughly 18 inches (45 cm).
3. Employ a saw to carefully cut along the marked lines, creating four legs for your bench.
Step 3: Sanding
1. Thoroughly sand all cut edges and surfaces of the pallet pieces to eliminate splinters and rough spots. Begin with medium-grit sandpaper and progress to fine-grit for a smoother finish. Concentrate on the edges and corners where the cutting occurred.
2. Sand the upper surface of the seat and the legs until achieving a uniform and smooth texture.
Step 4: Assembly
1. Place the four legs underneath the pallet seat, aligning them with the corners.
2. Use a hammer to gently tap nails through the legs and into the seat. Pre-drill holes are not required for nails, but be cautious to prevent splitting the wood.
3. Secure the legs to the seat by driving nails through them. Use at least two nails per leg for a sturdy connection.
Step 5: Finishing Touches
1. Optionally, apply a layer of paint or wood finish to safeguard the bench and enhance its appearance. Allow the finish to dry according to the manufacturer’s recommendations.
2. For multiple paint or finish layers, lightly sand between coats.