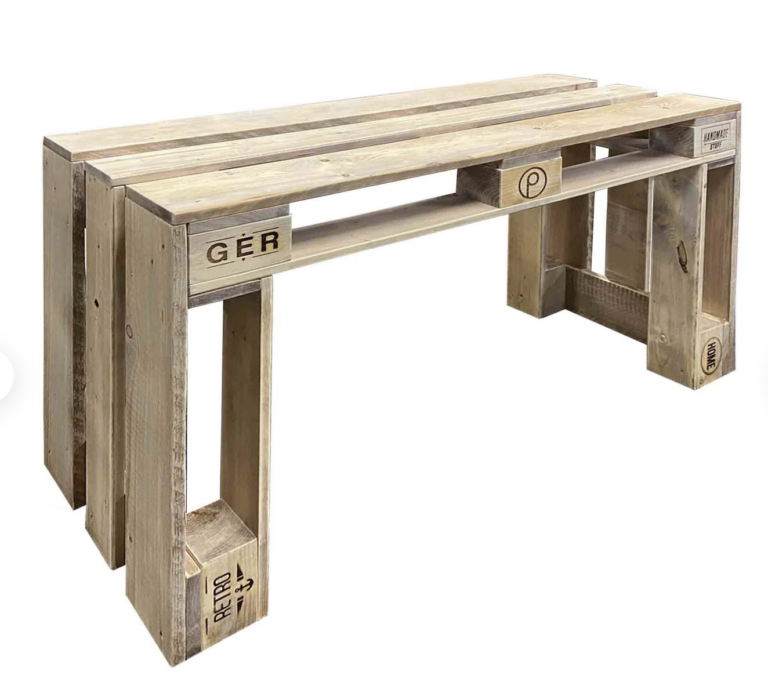
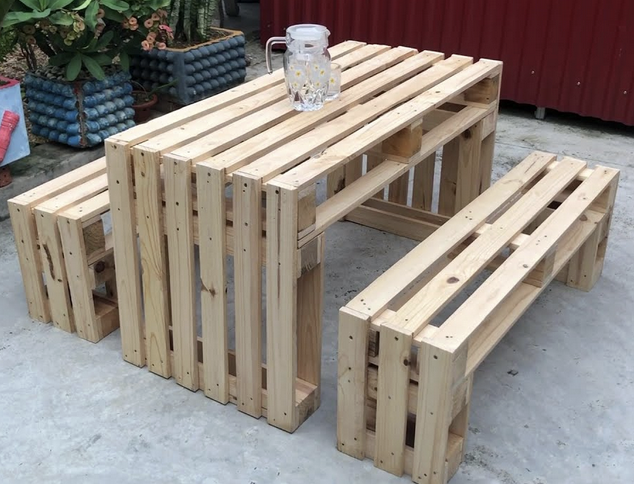
With the guidance of nails and a hammer, follow this step-by-step tutorial to transform ordinary pallets into functional and stylish outdoor tables. Embrace the art of repurposing as you create tables that invite relaxation, gatherings, and a touch of rustic elegance to your surroundings.
Materials Needed:
- Two wooden pallets
- Saw (circular saw or hand saw)
- Measuring tape
- Pencil or marker
- Sandpaper (medium and fine grit)
- Hammer
- Nails
- Paint or wood finish (optional)
- Paintbrush or foam roller (if painting)
Step 1: Cutting and Preparing the Pallets
- For each table, position a pallet with its top facing upwards.
- Locate the substantial supporting piece of wood running perpendicular to the top deck of the pallet. Carefully cut through the nails or screws attaching this piece and remove it.
- Find the center of the pallet’s top side and mark it with a pencil or marker.
- Use a circular saw or hand saw to cut the pallet along the marked centerline, effectively splitting it into two parts. This will be the table’s top.
Step 2: Cutting and Attaching the Legs
- Choose one of the halves you just cut for each table and place it on a flat surface with the cut side facing downward.
- Measure and mark your desired leg height on each corner of the table’s underside.
- Carefully cut along the marked lines to create four legs for each table.
- Align the legs at the corners of the table’s underside.
- Use a hammer to drive nails through the legs and into the table’s underside, securing the legs in place. Be careful to prevent wood splitting.
Step 3: Sanding and Finishing
- Thoroughly sand all cut edges and surfaces of the pallet pieces to remove splinters and rough spots. Begin with medium-grit sandpaper and progress to fine-grit for a smoother finish. Focus on edges and corners.
- Sand the tabletop surface until achieving a uniform and smooth texture.
- Optionally, apply a coat of paint or wood finish to protect and enhance the appearance of the tables. Allow the finish to dry according to the manufacturer’s instructions.